Subaru Legacy BN/BS (2015-2019) Service Manual: Removal
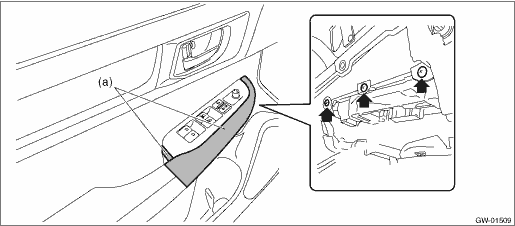
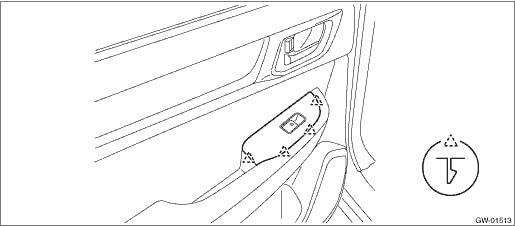
1. MAIN SWITCH 1. Disconnect the ground terminal from the battery sensor, and wait for at least 60 seconds before starting work. NOTE 2. Remove the trim panel - front door. Door Trim > REMOVAL 3. Remove the panel - power window main switch. CAUTION: Be careful not to damage the trim panel - front door with the panel - power window main switch. (1) Insert a sheet of protective paper (a) between panel - power window main switch and trim panel - front door. (2) Remove the screws.
(3) Release the claws, and then remove the panel - power window main switch.
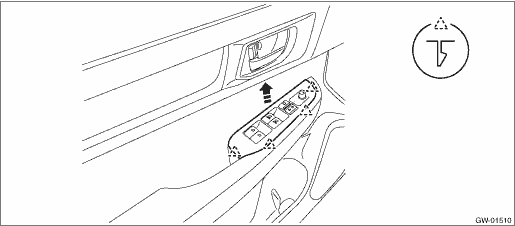
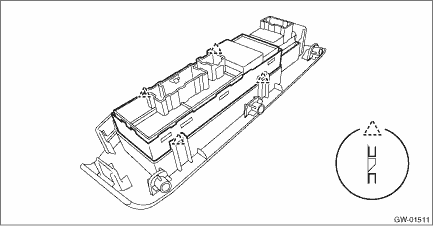
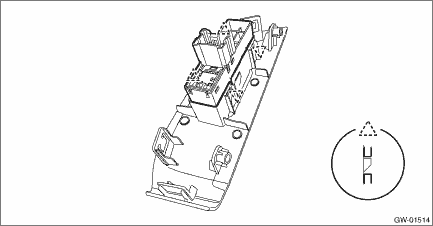
(4) Release the claws, and then remove the switch - power window main.
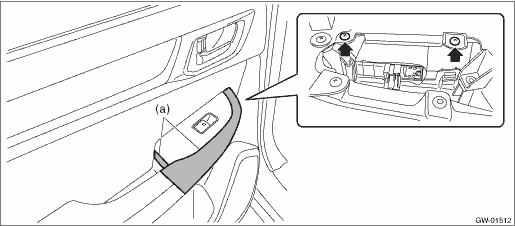
2. SUB-SWITCH Switch - power window sub front For removal of the switch - power window sub front on the passenger’s seat, refer to the removal procedure of the switch - power window main. Power Window Control Switch > REMOVAL Switch - power window sub rear 1. Disconnect the ground terminal from battery sensor. NOTE 2. Remove the trim panel - rear door. Door Trim > REMOVAL 3. Remove the panel - power window sub switch rear. CAUTION: Be careful not to damage the trim panel - rear door with the panel - power window sub switch rear. (1) Insert a sheet of protective paper (a) between panel - power window sub switch rear and trim panel - rear door. (2) Remove the screws.
(3) Release the claws, and then remove the panel - power window sub switch rear.
4. Release the claws, and then remove the switch - power window sub rear.
|

 Inspection
1. MAIN SWITCH• Driver’s seat (model with AUTO)CAUTION:• Since the switch - power window main is controlled by CPU, do not check continuity for switch alone with the circuit tester. ...
Other materials:
Electrical specification
1. KEYLESS ENTRY CONTROL MODULETerminal No.ItemMeasuring conditionStandard4 (IG) ←> Chassis groundResistanceIG OFF > ON0 V > 10 — 14 V5 (GND) ←> Chassis groundResistanceAlwaysLess than 1 -6 (+B) ←> Chassis groundVoltageAlways10 — 14 V11 (U-ART com.) — Cannot be measured — 2. B ...
