Subaru Legacy BN/BS (2015-2019) Service Manual: Removal
WARNING: Place “NO OPEN FLAMES” signs near the working area. CAUTION: • Be careful not to spill fuel. • Catch the fuel from the tubes using a container or cloth. 1. Release the fuel pressure. Fuel > PROCEDURE 2. Drain fuel. Fuel > PROCEDURE 3. Disconnect the ground terminal from battery sensor. NOTE 4. Remove the rear seat cushion. Rear Seat > REMOVAL 5. Remove the service hole cover of fuel pump.
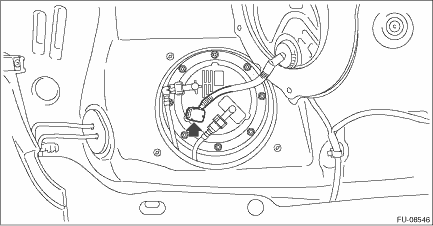
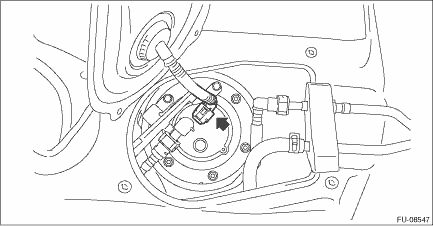
6. Disconnect connectors from the fuel pump, and move aside the service hole cover.
7. Remove the service hole cover of fuel sub level sensor.
8. Disconnect the connector from the fuel sub level sensor, and move aside the service hole cover.
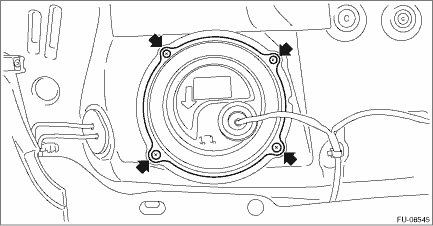
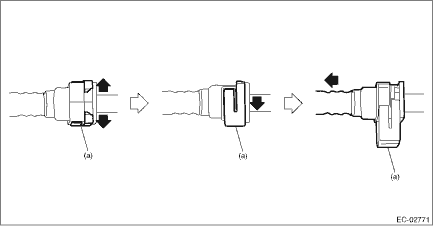
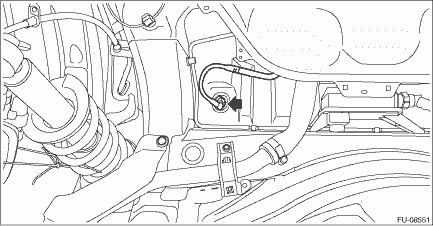
9. Disconnect the quick connector on the fuel delivery tube. NOTE: Disconnect the quick connector as shown in the figure.
10. Remove the rear sub frame assembly. Rear Sub Frame > REMOVAL 11. Disconnect the air vent hose from the fuel tank.
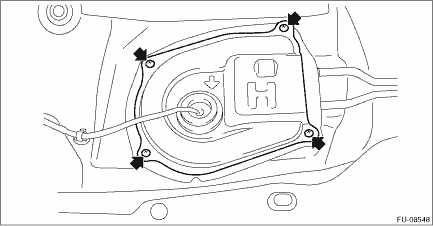
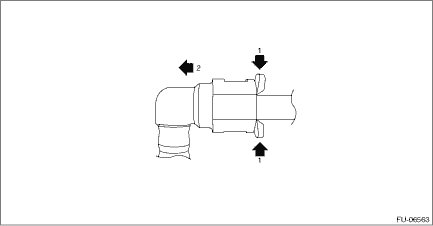
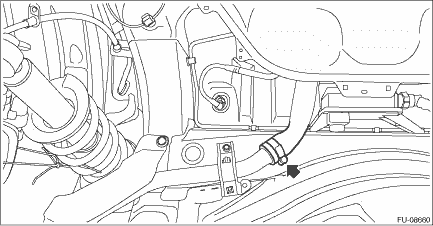
12. Disconnect the quick connector of the circulate tube from evaporation pipe. NOTE: Disconnect the quick connector as shown in the figure.
13. Disconnect the fuel filler hoses from the fuel filler pipe.
14. Remove the heat shield cover.
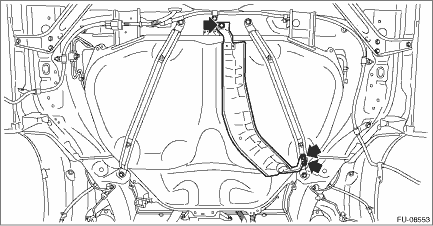
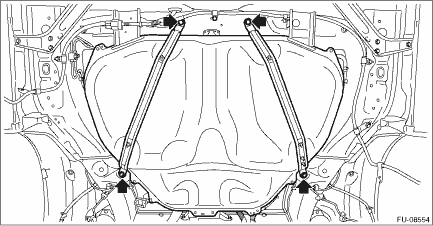
15. Support the fuel tank with a transmission jack, remove the fuel tank band, and remove the fuel tank from the vehicle. WARNING: • A helper is required to perform this work. • Fuel may remain in the fuel tank. This will cause the left and right sides to be unbalanced. Be careful not to drop the fuel tank.
|


 Fuel tank
...
 Inspection
1. Check that the fuel tank and fuel pipe have no deformation, cracks and other damages.2. Check that the fuel hose and tube have no cracks, damage or loose part. ...
Other materials:
User customizing operation
1. On «Start» display, select «Diagnosis».2. On «Vehicle selection» display, input the target vehicle information and select «Confirmed».3. On «Main Menu» display, select «Each System».4. On «Select System» display, select «Body Control» and then select «Enter».5. On «Select Funct ...
