Subaru Legacy BN/BS (2015-2019) Service Manual: Assembly
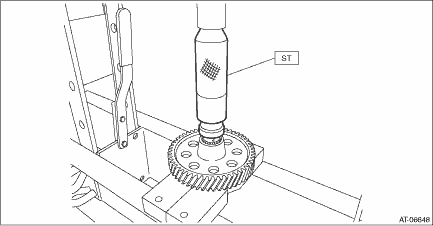
1. Install the snap ring to reduction driven gear. NOTE: Use a new reduction driven gear COMPL. 2. Using the ST, attach the collar. NOTE: Attach the collar in the correct direction.
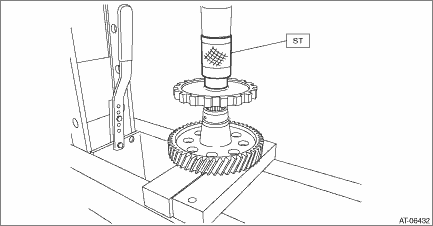
3. Using the ST, install the parking gear.
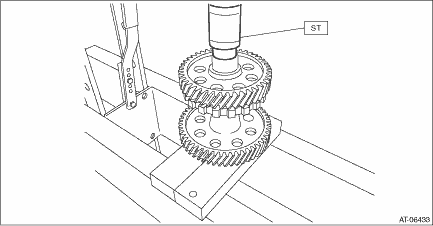
4. Using the ST, install the transfer drive gear.
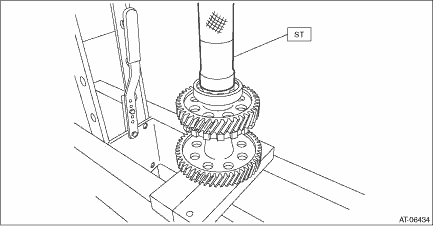
5. Using the ST, install the ball bearing. NOTE: Use a new ball bearing.
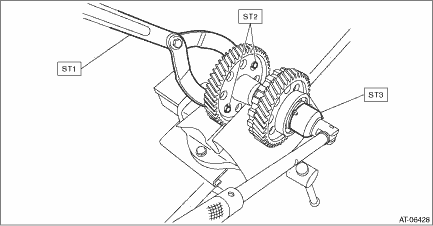
6. Using the ST, counter the rotation of the reduction drive gear assembly, and install the lock nut. NOTE: Use a new lock nut.
Tightening torque: 95 N·m (9.7 kgf-m, 70.1 ft-lb)
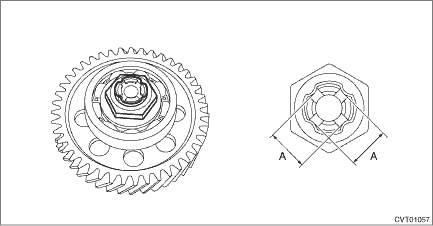
7. Crimp the lock nut at four locations so that the dimension of A becomes 18.9 mm (0.74 in) or less. CAUTION: Do not allow the lock nut to be cracked during crimping operation.
|
 Disassembly
1. Flatten the tab of the lock nut.2. Using the ST, counter the rotation of the reduction driven gear assembly, and remove the lock nut.ST1 18355AA000PULLEY WRENCHST2 18334AA000PIN SETST3 499 ...
 Relay and fuse
...
Other materials:
Dtc b1830 short in curtain airbag rh squib circuit
DIAGNOSIS START CONDITION:Ignition voltage is 10 V to 16 V.DTC DETECTING CONDITION:Shorted between +/− lines (shorted between main harness lines, shorted between curtain airbag RH lines, shorted between airbag CM internal lines)CAUTION:Before performing diagnosis, refer to “CAUTION&rdquo ...
