Subaru Legacy BN/BS (2015-2019) Service Manual: Removal
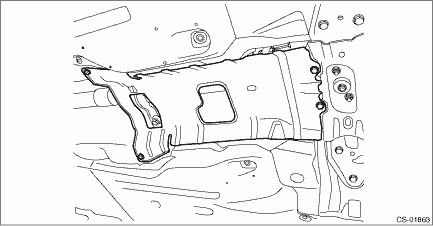
1. Shift the select lever to “N” range. 2. Disconnect the ground terminal from battery sensor. NOTE 3. Lift up the vehicle. 4. Remove the center exhaust pipe. (2.5 L model) Center Exhaust Pipe > REMOVAL 5. Remove the front exhaust pipe and rear exhaust pipe. (3.6 L model) Front Exhaust Pipe > REMOVAL Rear Exhaust Pipe > REMOVAL 6. Remove the center exhaust cover.
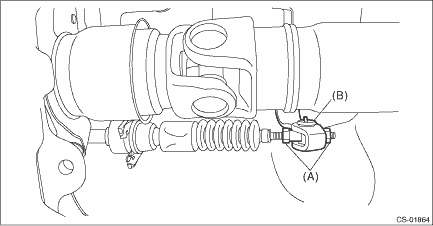
7. Remove the cable from arm assembly.
8. Raise the claw of clamp and remove the cable.
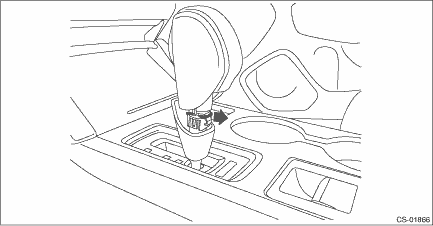
9. Lower the vehicle. 10. Lower the cover grip AT vertically toward the lever.
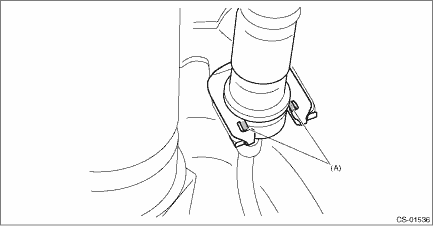
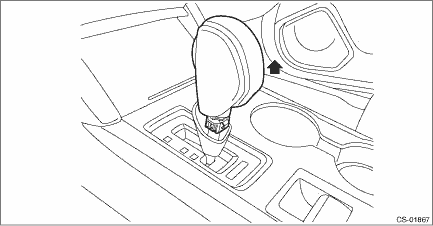
11. Remove the clamp grip pin.
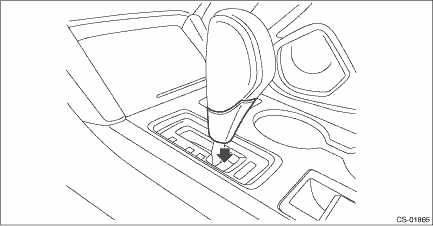
12. Remove the grip assembly.
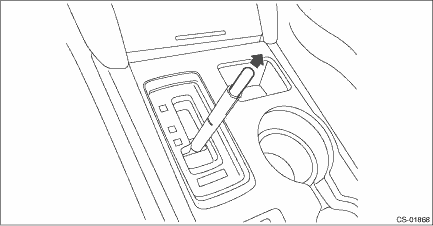
13. Remove the rod COMPL.
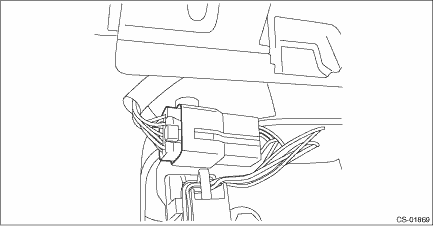
14. Remove the console front cover assembly. Console Box > REMOVAL 15. Remove the console box. Console Box > REMOVAL 16. Remove the console front side cover assemblies RH and LH. Console Box > REMOVAL 17. Disconnect the harness connector.
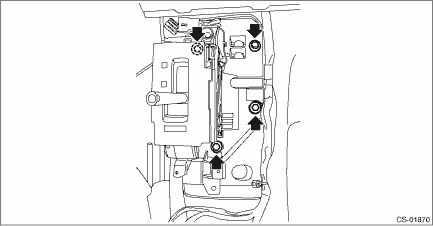
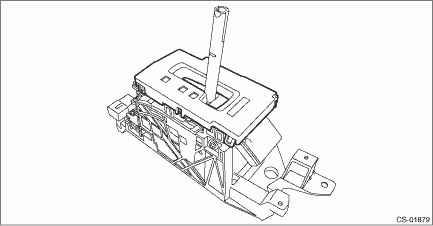
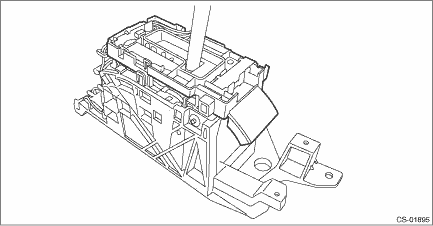
18. Remove the four bolts to remove the select lever assembly.
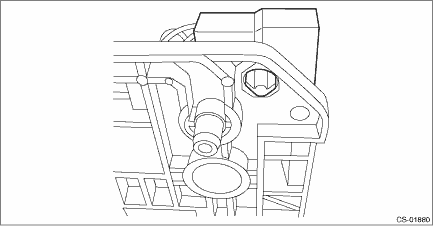
19. Turn over the gasket and remove the harness clip from the select lever.
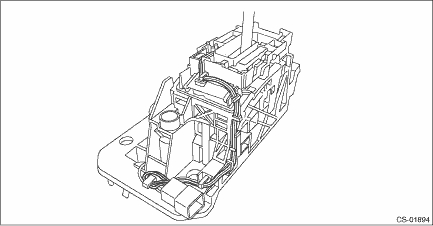
20. Remove the indicator cover.
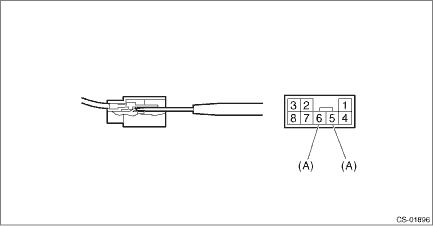
21. Remove the harness connector from the select lever COMPL.
22. Remove the harness from the select lever COMPL.
23. Remove the housing and the blind.
24. Remove the terminal of the indicator light using a flat tip precision screwdriver with a tip width of 1.3 mm (0.05 in) or less, KTC connector terminal tool ECC-1T or equivalent.
|

 Select lever
...
 Inspection
1. The shift lock operates normally. AT Shift Lock Control System > INSPECTION2. Engine starts when the select lever is in “P” or “N” range, but not in other ranges.3. Back-up ...
Other materials:
Component
1. CLUTCH ASSEMBLY(1)Dust cover(6)Release bearingTightening torque: N·m (kgf-m, ft-lb)(2)Lever spring(7)Clutch coverT1:16 (1.6, 11.8)(3)Pivot(8)Clutch discT2: Flywheel > INSTALLATION(4)Release lever(9)Flexible flywheel (5)Clip(10)Pilot bearing 2. CLUTCH PIPE AND HOSE(1)Operating cylinder(9) ...
